


How to Build a Home Network Wiring System?

While wireless and mesh networking technologies are improving every year, wired home networks are still the preferred choice for achieving the best speeds, lowest latency, and most stable network connections between home devices. The main challenge with wired Ethernet is to route cables throughout the house, preferably hidden inside the walls. If you are not planning a home renovation, this can cause some trouble. In this article, I'll help you choose the right equipment, detail the wiring steps, and share some practical advice.
Planning a Home Network Wiring: a Step-by-Step Guide
Developing a home network wiring plan requires careful planning. Here's a simple step-by-step plan to help you quickly complete your home network wiring project.
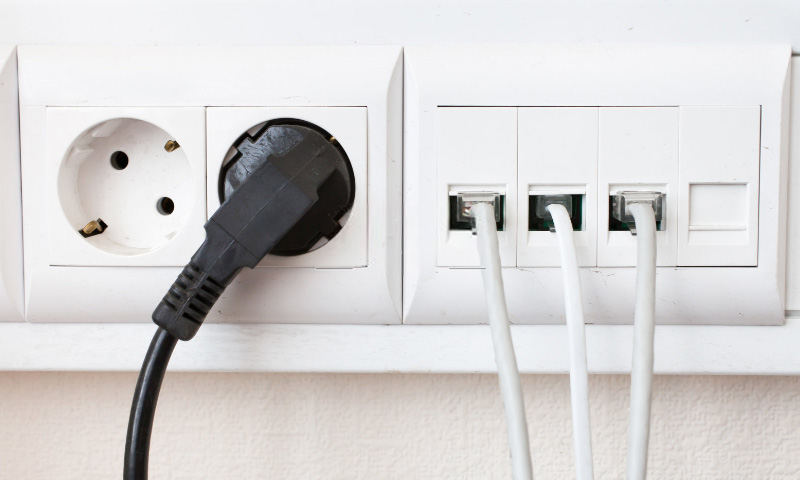
Step 1: Determine the placement points for Ethernet ports
First, identify each device's connection needs. For example, consider that your children may use computers or gaming devices in their rooms in the future, so pre-wire these areas. Also, pay attention to pre-wire the location of network printers or access points.
Step 2: Choose where to install routers and switches
Decide on the best mounting points for the router and switch. If the house has multiple floors, consider setting up a switch on each floor or bringing all the wiring together in one central location. I recommend centralizing all network equipment in one area, which allows for larger capacity switches and simplifies management.
Step 3: Plan the cabling path
Find the best way to route the cabling. Routing wires through an attic or underground crawlspace is a standard and convenient option. This not only hides the wires but also reduces interference.
Step 4: Calculate the number of Ethernet ports needed
Installing at least two Ethernet ports in each location is a solid choice. The cost of UTP cable is relatively low, and adding a few extra ports won't incur much expense. However, if additional ports need to be added later, the work and cost may increase significantly.
With this step-by-step plan, you can complete your home network cabling more efficiently and ensure a stable and reliable network connection.
How to Choose a Suitable Ethernet Cable for a Home Network?
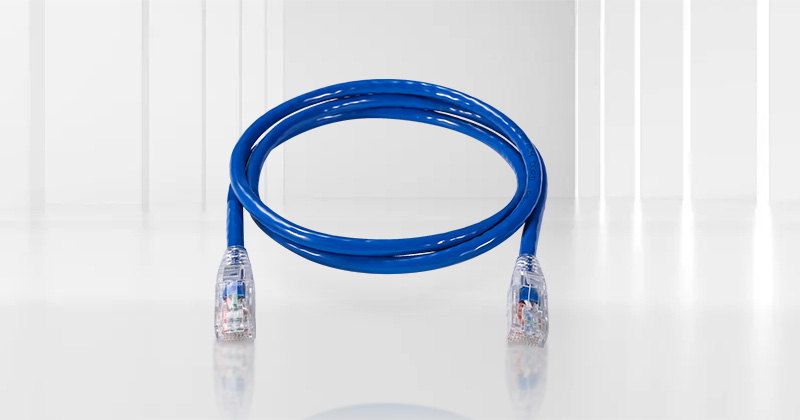
Now that we've got the plan, we must figure out what materials we will need. The most important thing is the Ethernet cable, which comes in different categories (Cat). The category determines the speed of the cable, which is how fast data is transmitted. When it comes to choosing home wiring cables, it's not just about speed. We also look at the quality of the cable. For instance, CCA (copper clad aluminum) cables are only one of the best options since they don't deliver the performance we're looking for. To make sure your UTP connections are working at their best, it's a good idea to use an entirely bare copper cable. It has meager resistance, which helps to make sure everything is transmitted efficiently.
Cat6 or Cat6a Ethernet Cables
These days, Cat6 UTP cables are the go-to for home wiring. It can be tricky to tell the difference between Cat6 and Cat6a cables, but it's worth noting that Cat6a cables are much more expensive than Cat6. To decide which is best for you, you need to understand the differences and consider what you need. Cat6 and Cat6a are copper cables that can support up to 10 Gbps and offer wider bandwidths, allowing more data to be transmitted simultaneously. You can transmit more data at the same time. If the cable is less than 37 meters long, you can achieve 10 Gbps. For home networks, Cat6's 250 MHz bandwidth is usually acceptable.
Solid or Stranded Cable
Next, you must decide whether to use a solid or stranded cable. The internal structure of the cable determines its performance; solid wire consists of a single copper strand, while stranded wire consists of multiple strands of fine wire braided together. The choice of construction depends on the cabling scenario. Solid wire is better suited for threading in tight spaces due to its rigidity but may be slightly more challenging to connect to an outlet. Stranded wire is more flexible when connecting to sockets but can be easily damaged when traveling through tight spaces.
Plenum or Riser Cables
Finally, consider the scenario in which the cable will be used. In some countries, building codes require using Cat6 Riser cables (CMR) with flame retardant properties between floors or drywall, similar to CM Plenum cables used in HVAC ducts. CMR cables are designed to prevent fire spread, especially between floors. CMR cables are more affordable than Plenum cables and are usually sufficient for most homes. If you want a more economical wiring solution, then CM cable will also work for residential or single-story commercial structures. CM cables have a lower fire rating than CMR's, and are not as fire retardant as CMR's, so they are cheaper. If it's just for home wiring needs, then CM cables will also meet your needs, while if you want cables with better fire resistance, CMR will be a good choice.
Make a Home Network Wiring: Step by Step
Now that you have determined the type of Ethernet cable you want to use, the next step is understanding how to do the home wiring work. Typically, this involves installing the wall plates, laying the cables, and plugging the cables into the outlets. Before you get started, ensure you have all the necessary tools and materials so you don't have to stop during the process due to a lack of equipment. Here are some of the essential tools you will need:
Cable assemblies: Inline Couplers, Keystone Jacks, Connectors/Plugs and Protective Sleeves
Network tools and test equipment: Keystone Wall Plates, Cable Crimping Tools, Stripping Tools, Cabling Tools, and Network Testers
The next is a step-by-step guide to making a home network wiring:
Install The Wall Plate
First, find where you will put it based on your wiring diagram. Next, align and measure the wall plate, then mark the outline on the wall so you can prepare for the next cutting step. Just a heads-up: Avoid hitting the internal studs when cutting the wall. It's probably a good idea to check them out beforehand with a stud finder. Once you've finished cutting, just temporarily remove the wall panels.
Laying The Cable
Measure the length of each section before you lay the cables. Lay the wires one by one, following the floor plan of the house. This is especially true for the trunk cables, which go from the wiring room to each room. Pull the wires out gently to ensure they're laid according to the planned path. Then, clear the channels in the walls and drill holes where necessary to ensure the cables can pass through smoothly. Once the cables have passed through the walls, mark the ends to make wiring easier later on, and leave a suitable amount of spare cable for stripping and crimping.
Connecting The Cable to The Jack
Next, you need to carry out the actual wiring operation. First, strip the outer jacket of the cable by about an inch to expose the inner cable. Then, each wire is inserted into the corresponding trapezoidal jack according to the color coding on the jack (T568A or T568B standard). Use a wire tie tool to connect the cables to the jacks or patch panels securely. After completing the wiring of all wires, mount the jacks to the wall plate and secure the plate to the wall using screws.
Testing the Network Connection
Once you've finished all the cabling, use a network cable tester to make sure everything's connected right. If the tester's LED lights up, you're good to go; if not, check that the cable connectors are correctly installed. Your home network is ready once you've tested it and everything's working.
These steps will help you complete your home network cabling and ensure your network performs at its best.
Conclusion
By reading this article, making a home network cabling system is easier than you think. With this step-by-step guide, it's simple to get started and try to install it. QSFPTEK can provide a wide range of Ethernet cables, such as Cat5e, Cat6, and Cat6a, among many other types. If you have further questions, please get in touch with a QSFPTEK technician for free technical support and customization!


share


